
Just a quick rundown of how I installed Ghidra on linux machine (Kubuntu in my case) and added it to PATH so we can run ghidra directly from terminal.
☕ Step 1: Install OpenJDK
Ghidra requires Java and we should install the latest version. At the time of this post, the latest version is v21.
- You can install OpenJDK with:
1
2
sudo apt update
sudo apt-get install openjdk-21-jdk
- Verify that it’s installed:
1
2
3
4
5
java - version
# OUTPUT (Something similar)
openjdk version "21.0.6" 2025-01-21
openJDK Runtime Environment (build 21.0.6+7-Ubuntu-124.04.1)
OpenJDK 64-Bit Server VM (build 21.0.6+7-Ubuntu-124.04.1, mixed mode, sharing)
🧩 Step 2: Download Ghidra
-
Head to the official Ghidra site: 👉 https://ghidra-sre.org
-
Download the latest zip archive. As of this post, latest is
11.3.1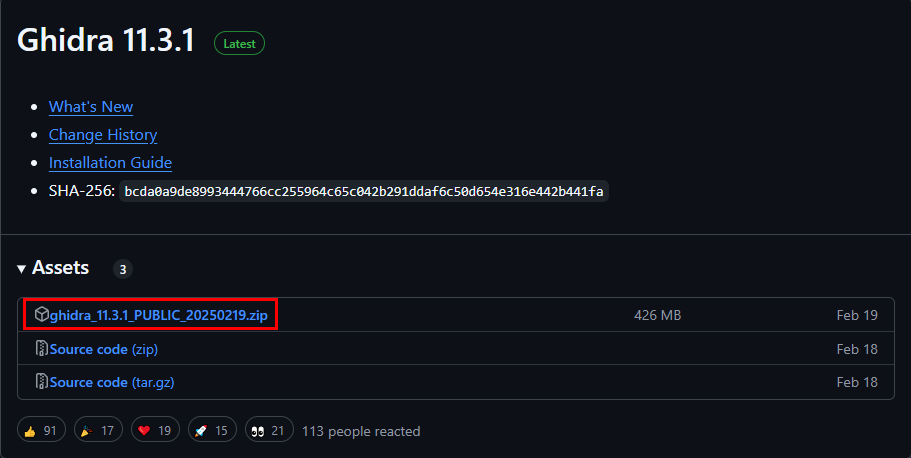
📂 Step 3: Extract to /opt/
- Once downloaded, I extracted the zip file to
/opt/(system-wide install location):1 2 3 4
# enter downloads directory cd ~/Downloads # extract ghidra to /opt/ sudo unzip ghidra_11.3.1_PUBLIC_20250219.zip -d /opt/
🛠 Step 4: Add ghidraRun to PATH
To make ghidraRun accessible from anywhere, we need to edit our .bashrc (or .zshrc if you’re using that):
- Open
~/.bashrcin your favorite text editor1 2
# open ~/.bashrc in text editor nano ~/.bashrc - Add the following line at the end:
1
2
# add this to end of ~/.bashrc file
export PATH=$PATH:/opt/ghidra_11.3.1_PUBLIC
- Save changes with:
ctrl-o -> Enter -> ctrl-x(if using nano)
🚀 Step 5: Launch Ghidra
Now we can start ghidra from any terminal:
1
2
#command to start ghidra
ghidraRun